A polyaspartic garage floor coating goes down in a single day. The crew grinds the concrete, repairs cracks and pitting, rolls a base coat, broadcasts flake, and finishes with a clear topcoat. You can walk on it that same day. You wait 24 hours before parking a vehicle on it.
That is the short version. Here is what each stage looks like while it is happening in your garage, and why each one matters more than most homeowners expect.
What do I need to do before the crew shows up?
Empty the garage completely. Not mostly empty. Completely. Bikes, the second refrigerator, the lawn mower, the shelving unit in the corner, the stack of paint cans you have been meaning to deal with since you moved into Broadlands. All of it needs to be out, because the grinder has to reach every inch of slab including the perimeter and the corners behind where the shelves stood.
Plan where things will go the night before. A driveway works if the forecast cooperates. Some homeowners tarp everything on the lawn, some borrow a neighbor's bay, and plenty of people use the day as a reason to finally get rid of half of it. Anything bolted to the wall can usually stay put. Anything sitting on the floor cannot.
One more thing worth doing: unplug and move the refrigerator or freezer early enough that it is not warm and full of food by mid-afternoon.
Step one: grinding the concrete
This is the loudest, dustiest, most important hour of the day, and it is the step that separates a coating that lasts from one that peels in three years. We run a diamond grinder across the entire slab. It does two things. It takes off whatever is sitting on top of the concrete, old sealer, paint, a tired big-box epoxy kit, curing compound left behind by the builder, and it opens up the surface so the coating has a physical profile to grab.
Concrete looks porous. A troweled garage slab usually is not, at least not at the top. It has been burnished smooth, and in a lot of Northern Virginia production homes it was also sealed before the drywall went in. Roll a coating onto that and you are gluing yourself to a skin, not to the slab. Grinding removes the skin.
The grinders run with vacuum extraction, so this is not the open-air dust cloud you might be picturing, but a garage under grinding is still an active jobsite. It is loud. If you work from home and your office shares a wall with the garage, plan around it.
Step two: repairing cracks, pits and spalls
Once the floor is ground and vacuumed, the damage is finally visible. Grinding always reveals things that were hidden under dirt and old sealer: hairline cracks, small spalled areas near the door where road salt did its work, pitting under where a car dripped for a decade, and the control joints the builder cut into the slab.
Cracks and pits get filled and the patches get ground flush. This matters in this region specifically. Northern Virginia sits on clay soil that swells when it is wet and shrinks when it dries, and our winters run through the freeze-thaw cycle over and over instead of staying frozen. Water gets into a crack, freezes, expands, and widens it. Filling those cracks before the coating goes on keeps water out of them.
A coating is not structural. It will not fix a slab that has heaved or settled badly. If something on your floor is beyond cosmetic repair, we would rather tell you that at the estimate than on install day.
Step three: the base coat and the flake
The base coat is the pigmented layer, and it goes down by roller and brush across the whole floor. This is the color you chose. It is also the layer that bonds into the ground profile.
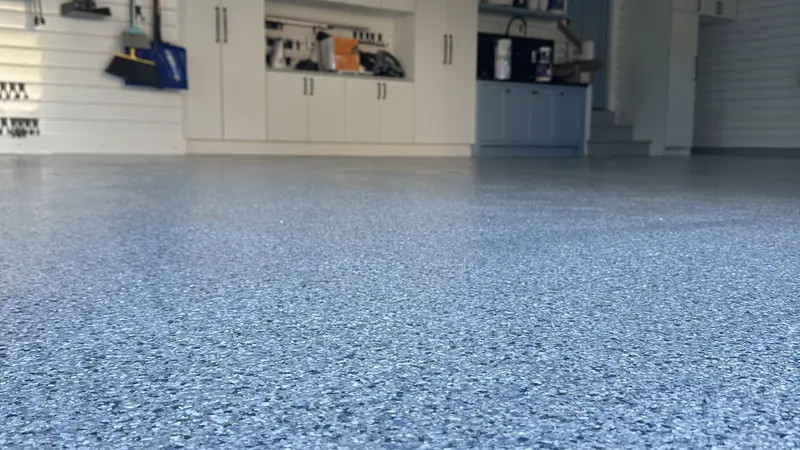
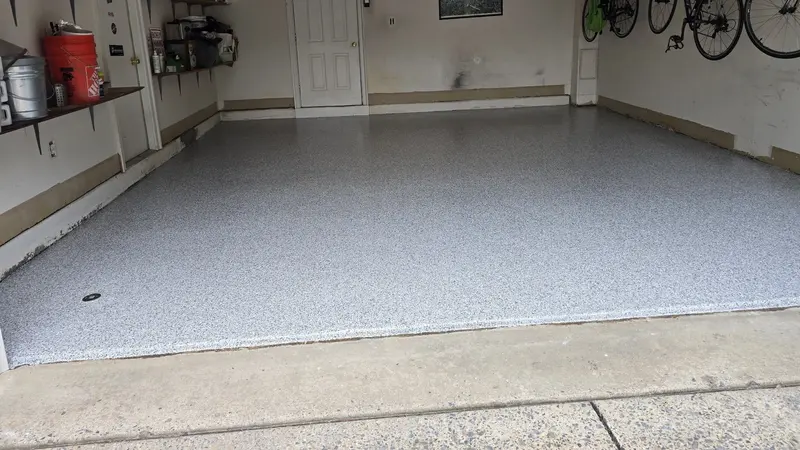
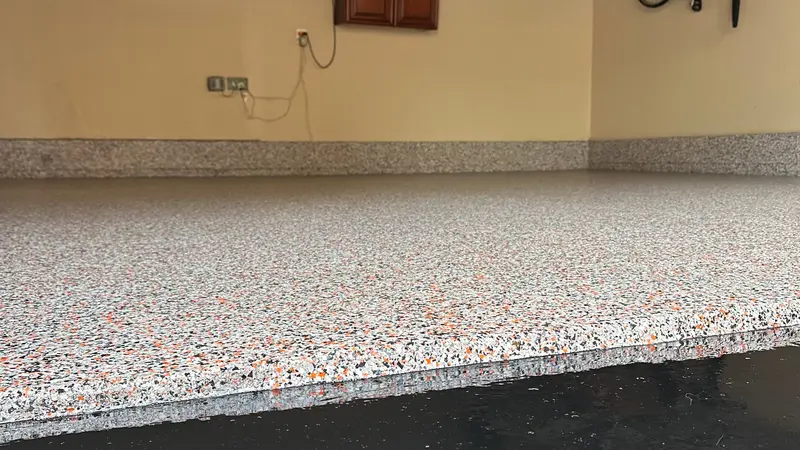
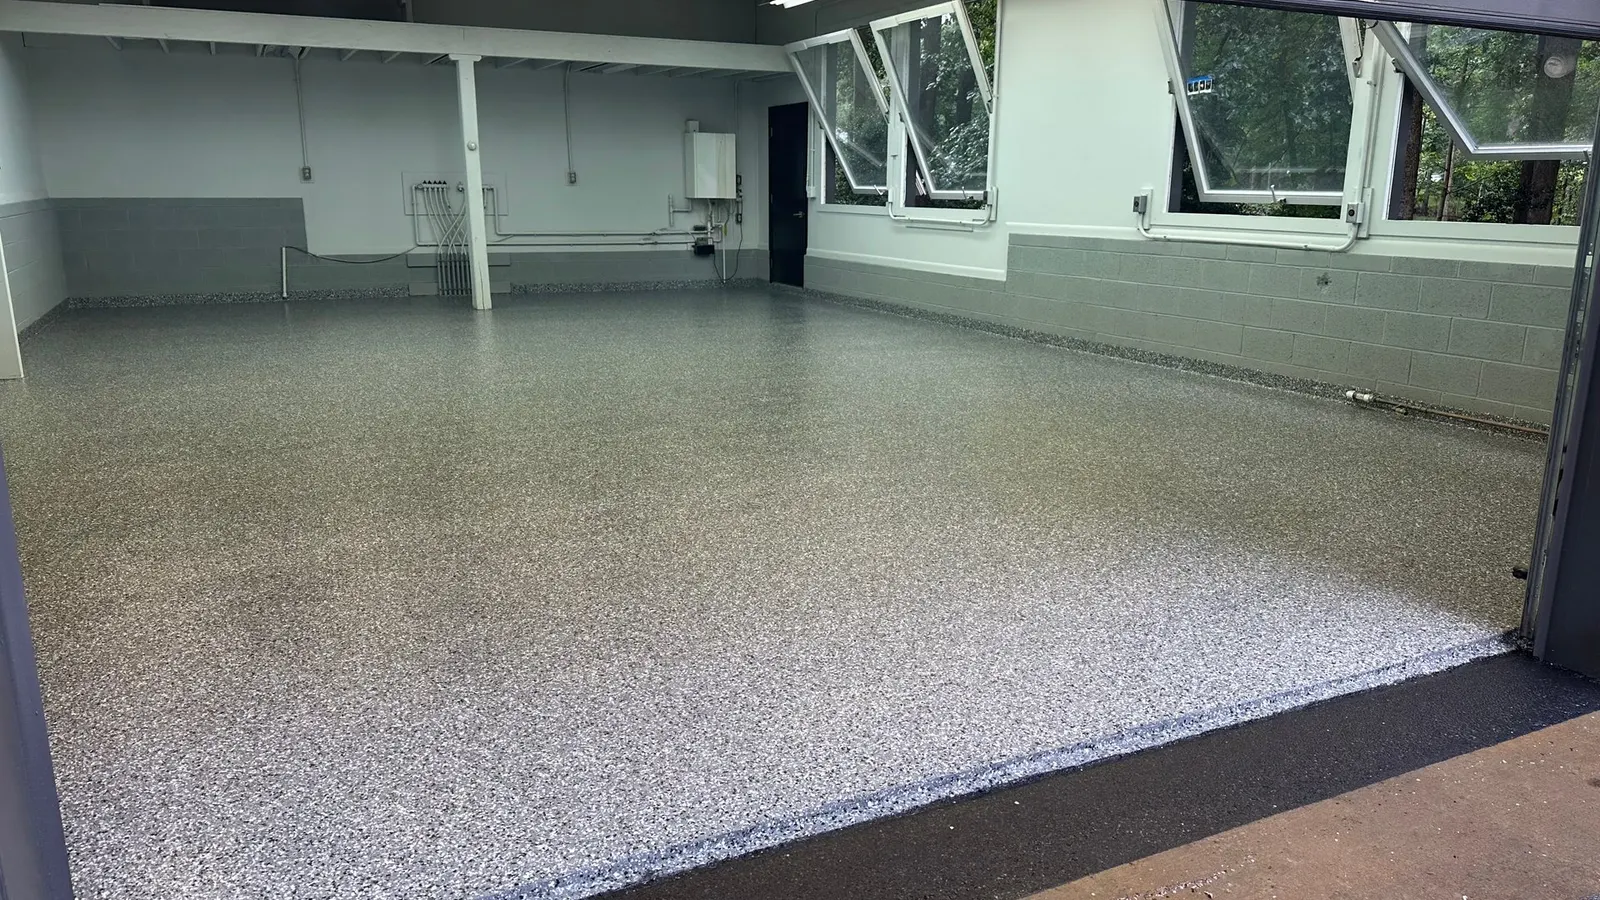
Then comes the part homeowners like watching. While the base coat is still wet, the crew broadcasts vinyl flake into it by hand, throwing it up so it falls evenly and lands flat rather than on edge. On a full-broadcast floor the flake goes down to refusal, meaning the surface is completely covered and no more will stick. That is why the finished floor has depth instead of looking like paint with confetti on it.
Flake is the reason these floors hide dirt so well. A solid color shows every leaf and every salt ring. A blend like Creekbed, Tidal Wave or Gravel breaks up your eye, and the texture the flake builds gives the surface something underfoot. If you have not picked yet, the flake color options are worth looking at before your estimate, and we bring physical samples so you can see them under your own garage lighting.
Step four: scraping and the clear topcoat
After the base coat sets, the loose flake gets swept and vacuumed up and the surface is scraped. Broadcast flake lands with edges standing up, and scraping knocks those down so the floor is smooth rather than sandpapery. Skipping it is how you end up with a floor that eats mop heads.
Then the clear polyaspartic topcoat goes on. This is the layer doing the actual work for the next 15 to 20 years. It is what resists hot tire pickup, oil, brake fluid, road salt carried in from the Dulles Greenway in February, and impact from a dropped socket wrench. Polyaspartic is UV stable, so the clear coat does not yellow the way older coatings do in a garage that gets afternoon sun through an open door.
When can I walk on it, and when can I park?
Walk on it the same day, once the crew tells you it is ready. Park on it after 24 hours. Those two numbers are not the same for a reason: foot traffic and the point loading of four tires sitting on a still-hardening film are very different things, and hot tire pickup is unforgiving of an early return.
Give storage items the same 24 hours before you slide the shelving unit back in. Drag anything heavy, do not skid it.
Polyaspartic cures on a schedule, not on a hope. It installs in temperatures down to 30°F, which is why we can keep coating garages in Leesburg and Vienna in January. Epoxy generally needs 50°F or warmer to cure properly, so late fall through early spring is where the two products stop being comparable. Fall in Northern Virginia is honestly the easiest season for this work: mild days, lower humidity than August, and a finished floor in place before the first salt truck runs.
Get a firm price for your garage
The free in-home estimate takes about 20 minutes. We look at your actual concrete, bring physical color samples, answer the questions this post did not, and give you a firm price with no obligation. Call or text 703-936-9006, book through our contact page, or read through the common questions first. No pressure.
Quick answers
Usually yes, because the diamond grinding step removes old coatings, paint and sealer before anything new goes down. What matters is the condition of the concrete underneath, which we look at during the free estimate.
Our polyaspartic coating is zero VOC, so there is no lingering solvent odor working its way into the house through the garage door. The grinding stage is dusty and loud, but the coating itself is not the part you will smell for days.
The broadcast flake gives the surface a fine texture, so it has noticeably more grip than bare troweled concrete or a smooth painted floor. Any coated floor is still slick when you track in snowmelt, so a mat inside the door is a good idea in winter.